Sutro - Quick Help Guide
This guide will walk you through the complete setup of your Sutro Smart Monitor. If you're looking for help with a particular part, you can jump ahead using the overview below.
Setup Overview
1. Balancing Your Spa
The Sutro is used to maintain your chemistry. For the best results, we highly recommend balancing your spa before putting the Sutro in.
2. Sutro Hub set up
Before we begin:
- Confirm you have the latest version of the Sutro app installed on your phone.
- Have your home WiFi network name and password handy (better if it's written down).
- Familiarize yourself with each component of your Sutro.

Monitor
Hub
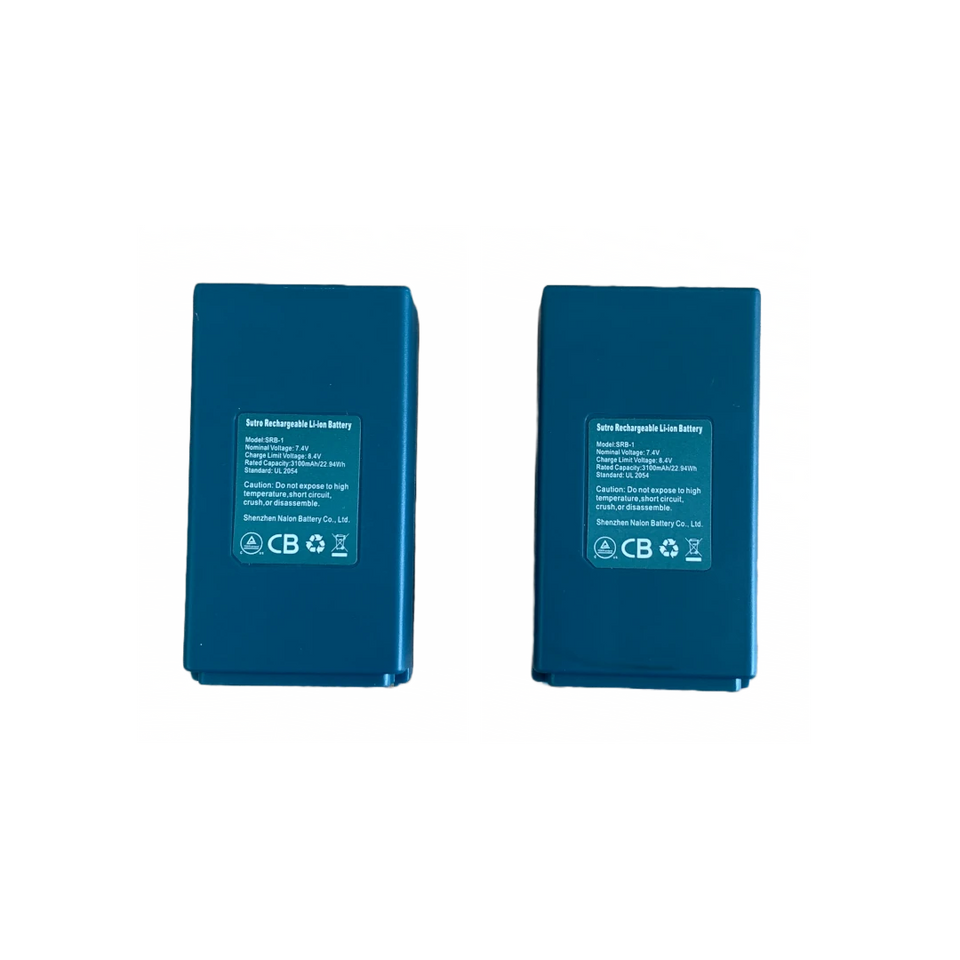
Batteries

Power adapter

Cartridge
Plug in hub within eyesight of spa
Confirm that the hub is within 50 ft line of sight from your spa.
Some notes:
- The Hub should be in your house (not outside).
- It should be placed where it won't be moved (for a while).
- Do not disconnect the hub during set up, or for at least two hours after.
Charge your battery
Before installing your Sutro, charge one of the included batteries for at least 24 hours.

Once your battery is fully charged, remove it it from the hub. You should now see the light on the hub blink white.
Confirm that your phone's WiFi is on
The Sutro hub will connect to your WiFi to transmit data from the monitor to the cloud. Check the settings on your phone to make sure that your WiFi is turned on.
Connect to Sutro network
- In the Sutro app, click Open Settings; this will open your phone's WiFi settings.
- Click on the Sutro network to connect to the hub; it will show up as "SUTROxxxxx" (the x's replaced by numbers and letters).
- Once connected, go back to the Sutro app. The app should now display a screen to select your WiFi network.
Connect to WiFi
You're on the last step to set up your hub!
Select your network from the drop-down menu and enter your password. Make sure to click on the eyeball next to your password to confirm it's typed in correctly.
3. Connecting the Hub and Monitor
Open the monitor
Twist the lid and pull up until the monitor clicks in place. It should be able to stand up like shown. Note that there are two sides of the monitor. One side is for the battery, and the other side is for the cartridge.
Install the battery in the Monitor
Make sure that the battery has been charging for at least 24 hours.
Insert the battery into the monitor as shown. Make sure that the gold lines match up, then insert the battery bottom first. The battery should click into place. You will see a blue LED light on the monitor, just above where the battery was placed.
Locate the pairing buttons
There are two pairing buttons: one on the hub and one on the monitor. Both pairing buttons will have a pairing icon. Locate both pairing buttons, but do not press them yet.
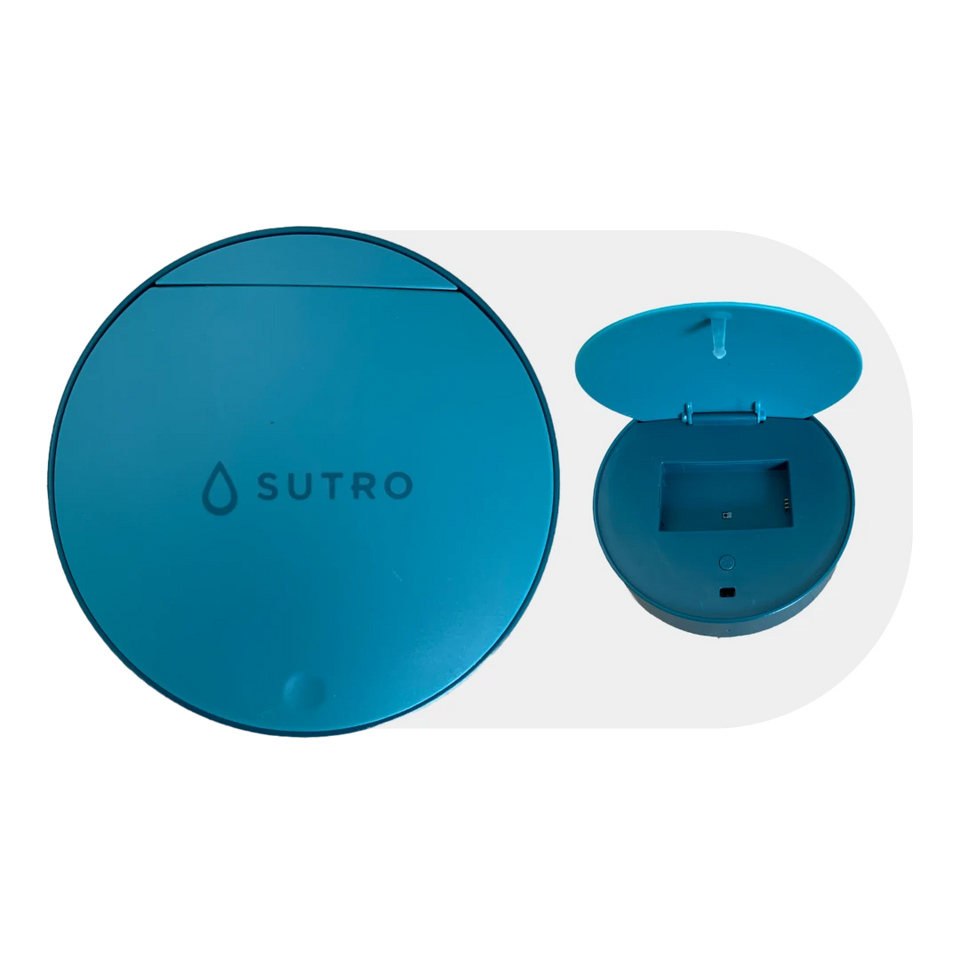
Hub Pairing Button: Open the hub by pressing down on the dent on the top of the hub (the same way you opened it to charge the battery). You will see the pairing button right below the battery insert.

Monitor Pairing Button: The monitor pairing button will be located right above where the battery is placed, near the LED.
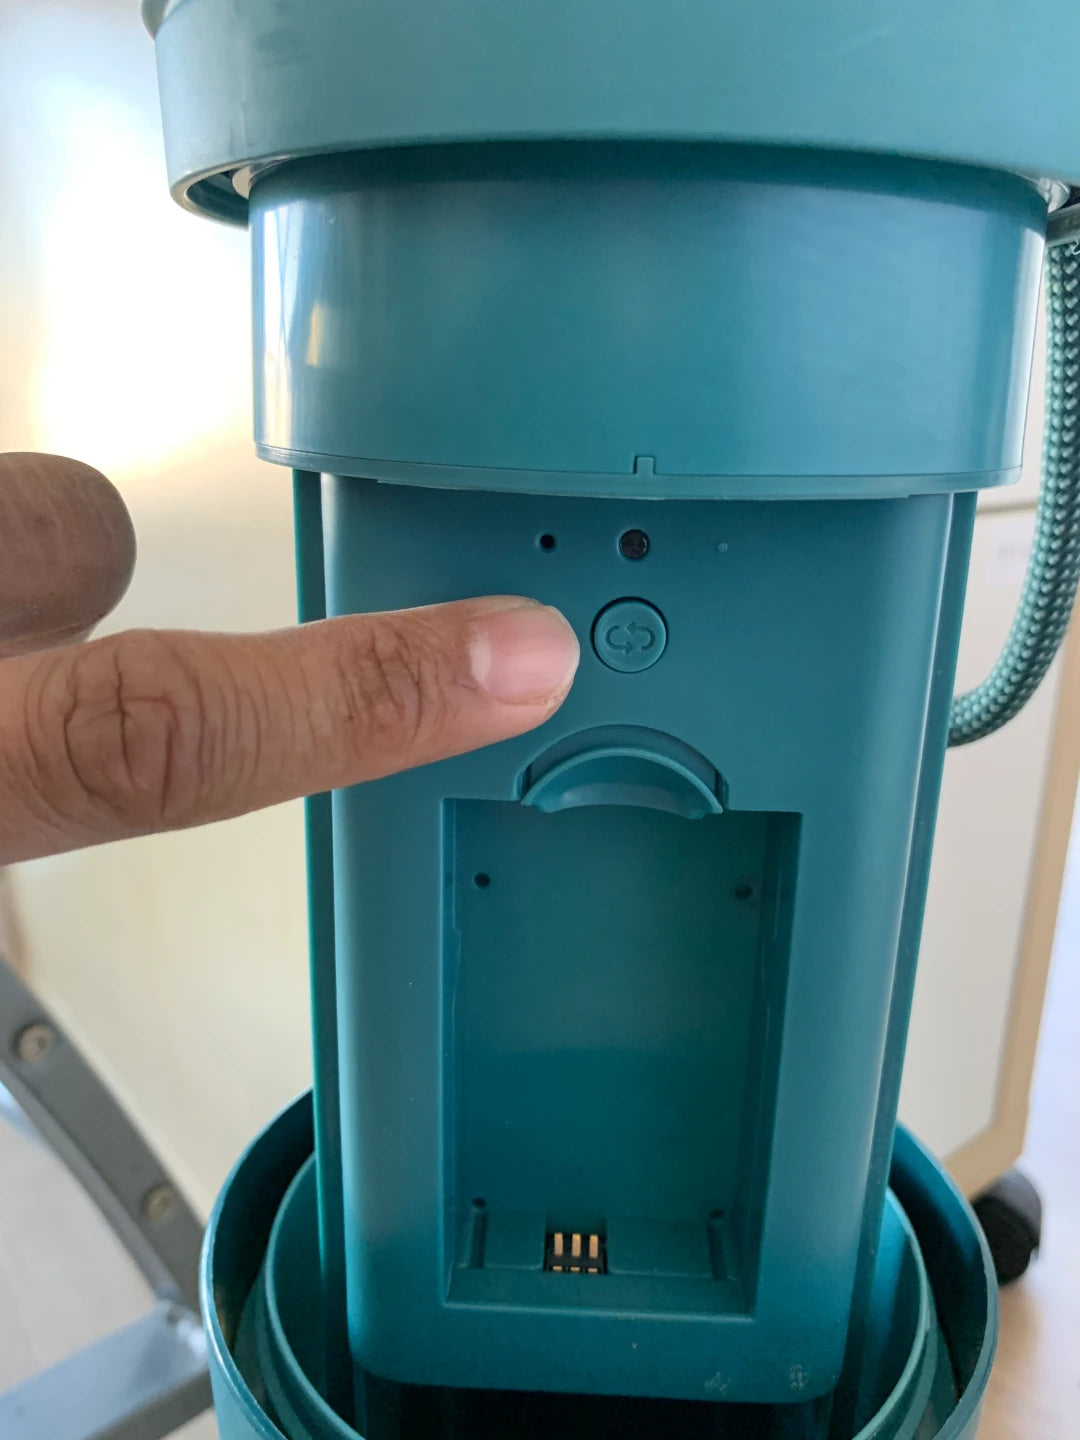
Pair Hub and Monitor
Now that you've found both pairing buttons, hold down both buttons at the same time until they both rapidly blink, then let go. Both LED lights will turn solid blue.
4. Installing Your Test Cartidge
If you're looking to replace your cartridge, instead of installing it for the first time, check out this article on how to replace a cartridge and battery.
Install the cartridge
Insert the cartridge in the monitor bottom first. You should hear a click. Make sure it's secure in the device.
Close the monitor
Push down on the lid of the monitor. Then twist the lid until you hear it click once. It should sound like a gas cap.
Once the lid is closed, go back to your app. You should see the below screen.
If the app has not moved to the next screen, open the monitor. Make sure both the battery and cartridge are secured in place, then close the monitor.

5. Putting the Monitor in your Spa
There are two things that happen now:
- Security checks on your Sutro Monitor
- Calibration
Security checks
The Sutro Monitor will perform a self-security check, and make sure that your Monitor is well prepared to go into the water.
It checks:
- Is the cartridge properly installed
- The lid is properly tightened and pushed all the way down and
- The core is secure (which is the part that ejects out of the Monitor).
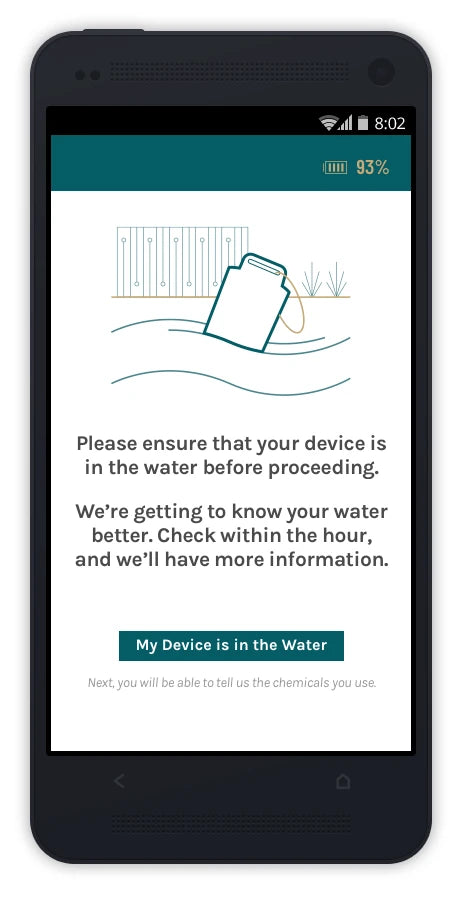
The screen looks like this - there is nothing for you to do, except wait.

Calibration
Once that screen has progressed - the Sutro Monitor is ready to be put in your spa. You can put it into the water, and it should take about 20 - 30 minutes to come back with your first reading. We will initially calibrate the device against your water chemistry, and make sure all systems are 'go', and shoot over the chemistry reading to you.
MAKE SURE YOUR DEVICE IS IN THE WATER BEFORE CONTINUING
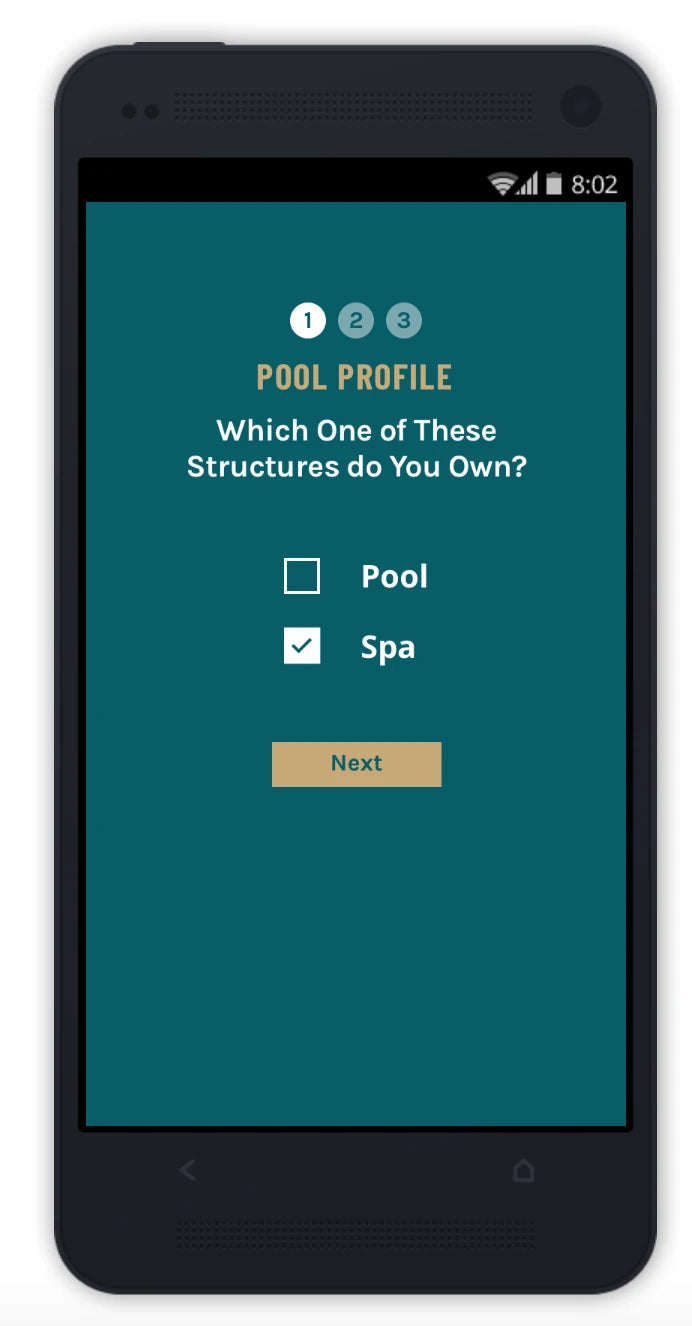
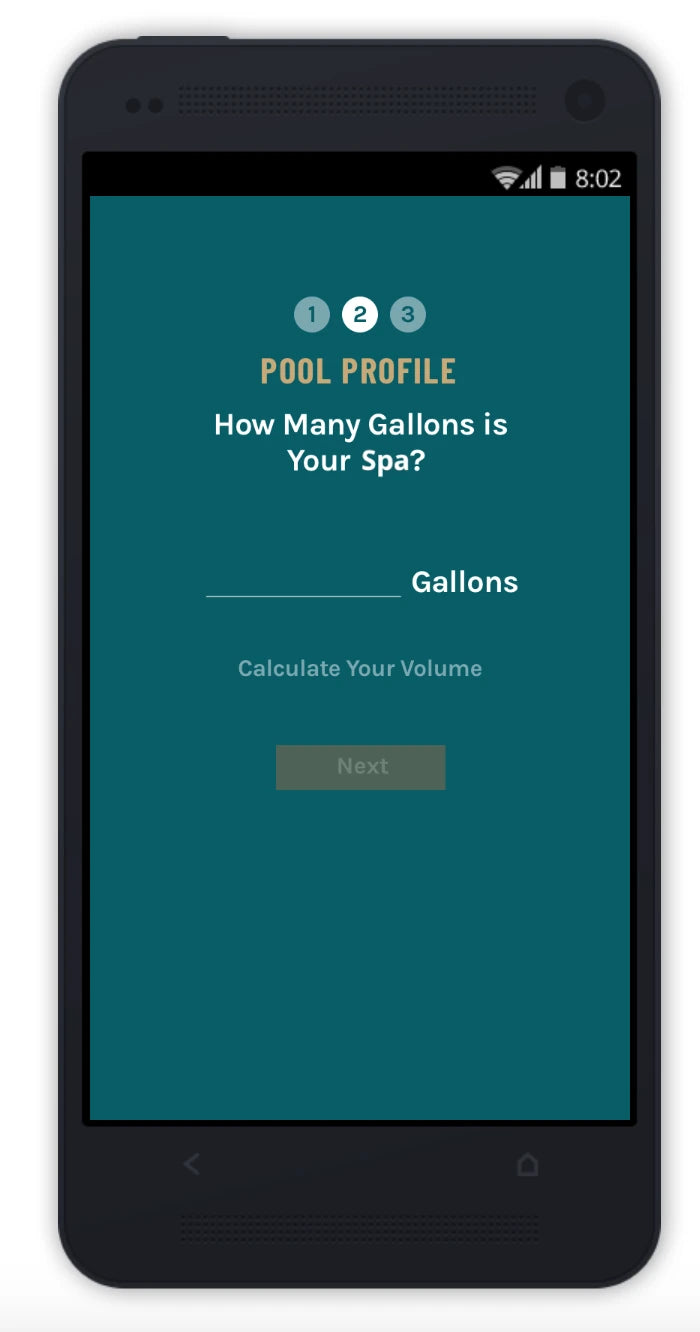
6. Setting up your spa profile
The Sutro system utilizes your spa (or pool) type, gallonage, sanitizer type, and optional sanitizers to better give you recommendations that are meant for you and your water. Filling out your profile helps the device better understand this.
Sutro asks you for:
- Whether you have a spa or pool
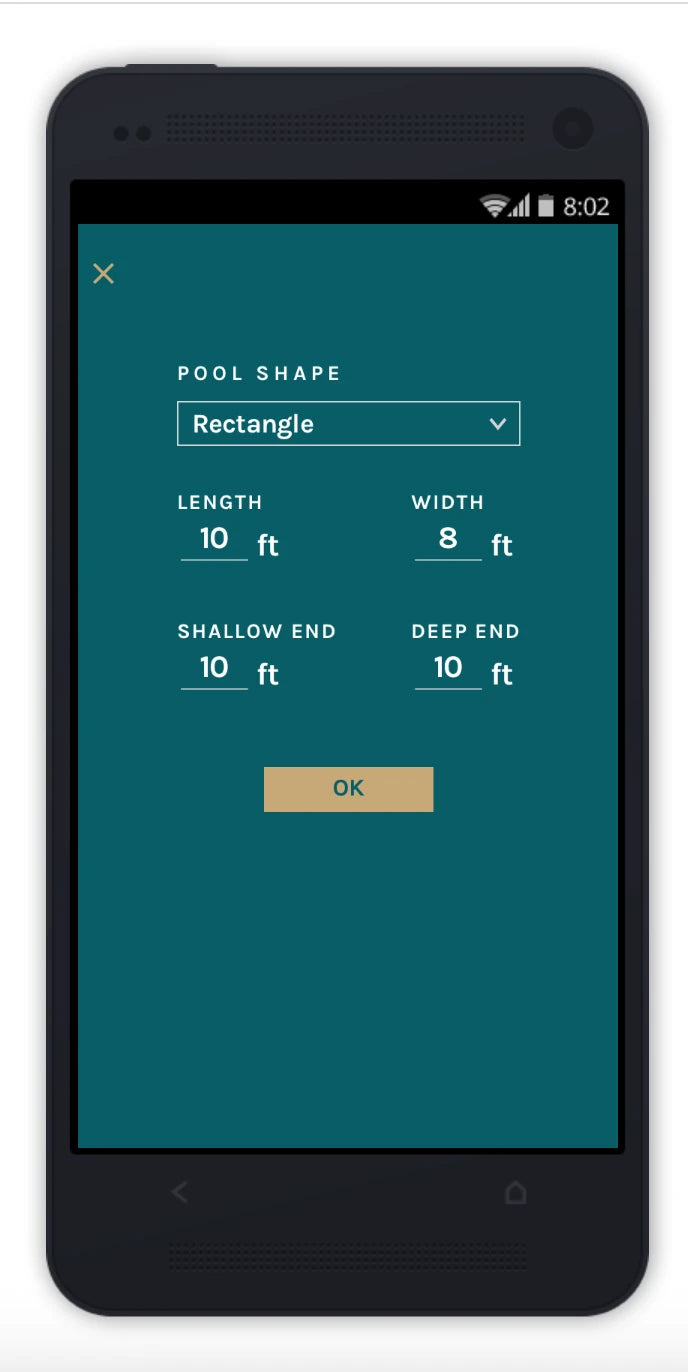
- How many gallons are contained
- If you don't know - there's a nifty calculator to help you figure it out
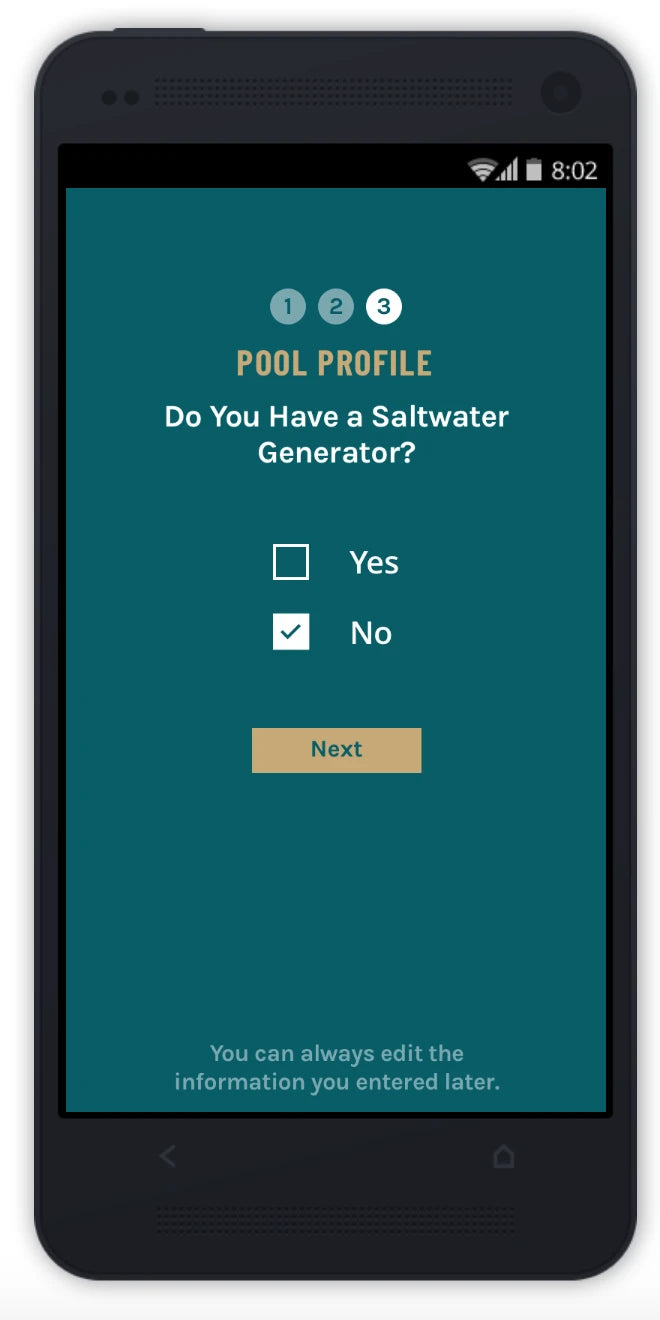
- If you have chlorine or bromine
- If you have a saltwater generator *banned by Health Canada*
- If you have an ozone, UV, or mineral system
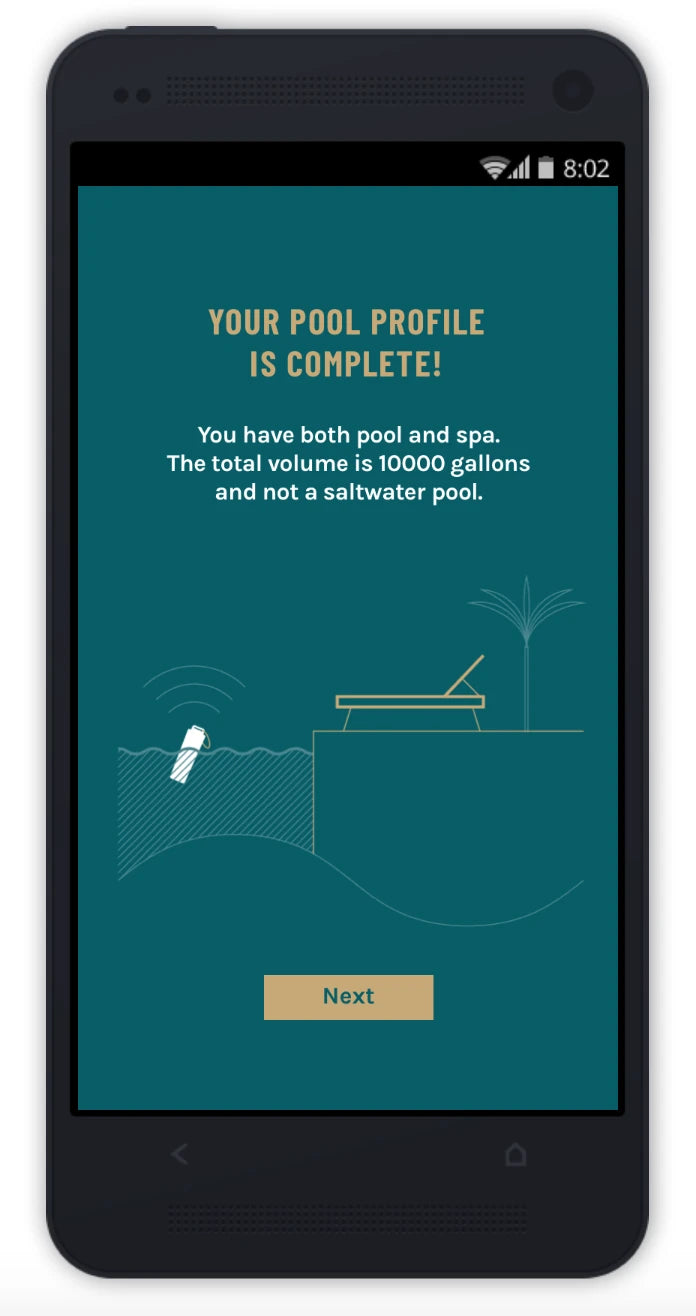
Your Sutro Monitor should now be set up!
Below are answers to a few common questions. If you have any additional questions or need assistance with any of the above steps, contact us at customerservice@hottubstore.ca
Frequently Asked Questions
Fast Free Shipping
on orders above $99*Huge Inventory
on popular hot tub productsUnmatched Customer Service
call or chat with our dedicated team