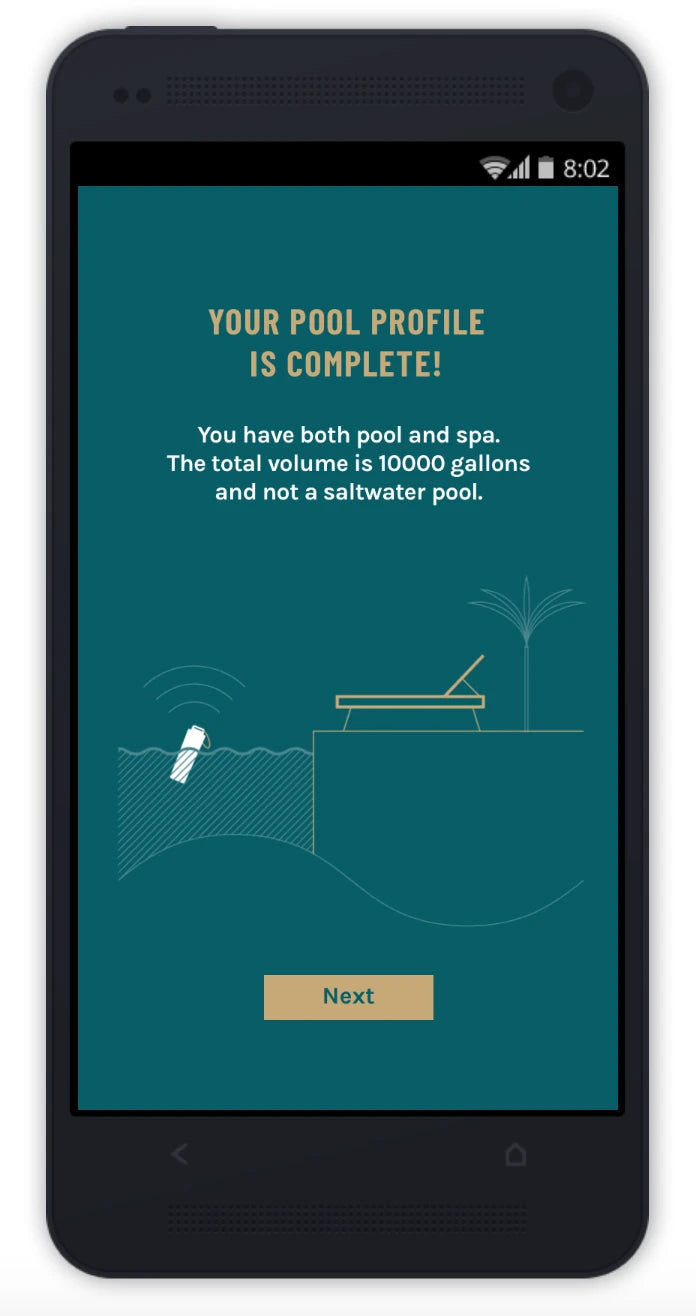
Getting Started With Your Sutro
Setup Overview
1. Balance Your Spa
2. Sutro Set Up
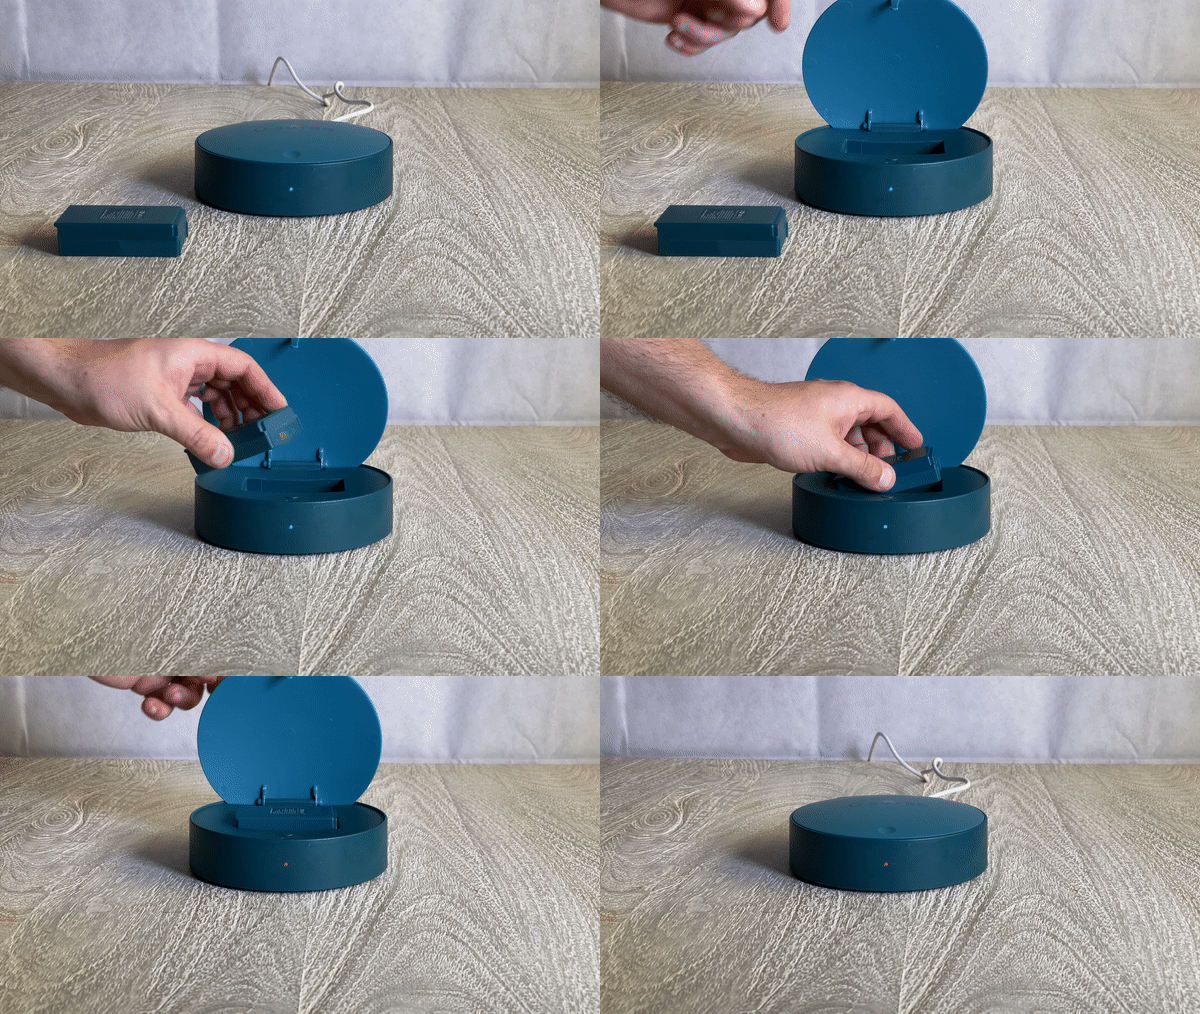
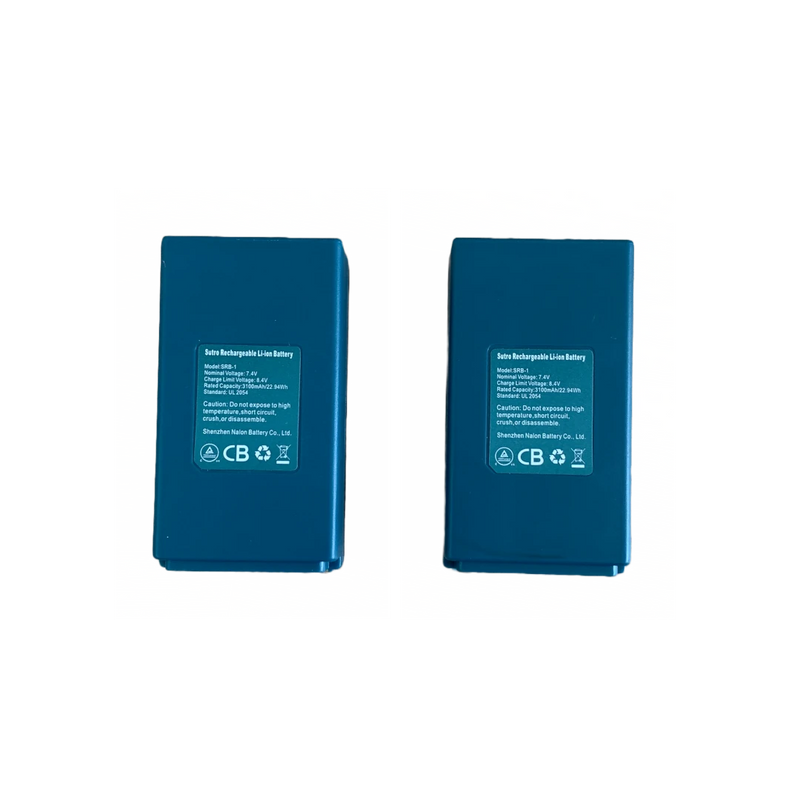
If the hub light is red or green, remove the battery from the hub.
If the light is solid and not blinking, try reseting the hub:
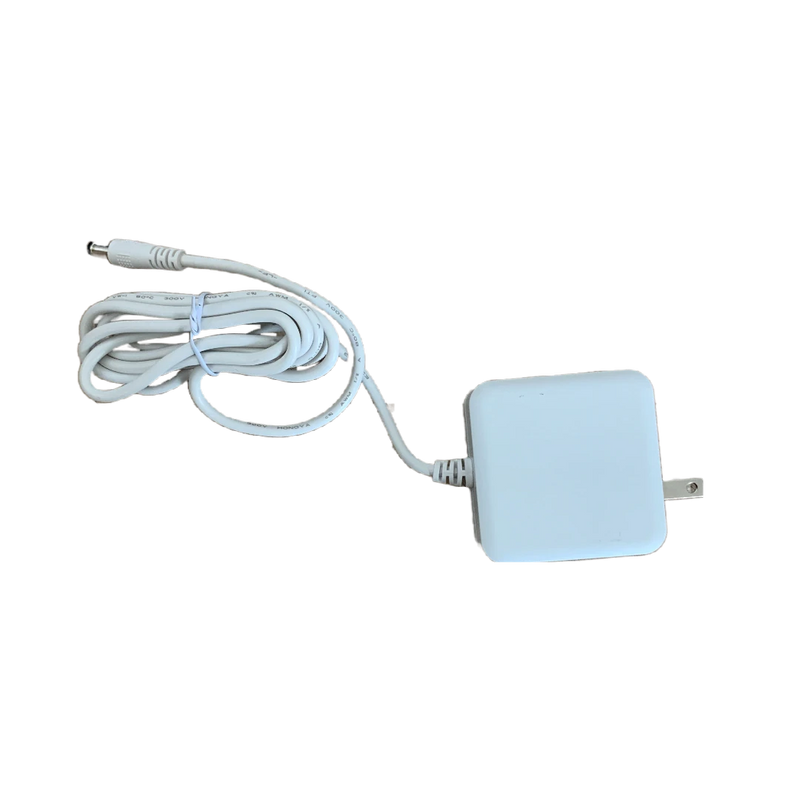
- Unplug the hub, wait two seconds, and plug it back in.
- Hold down the reset button for three seconds. The reset button is located at the bottom of the hub near the power cord.
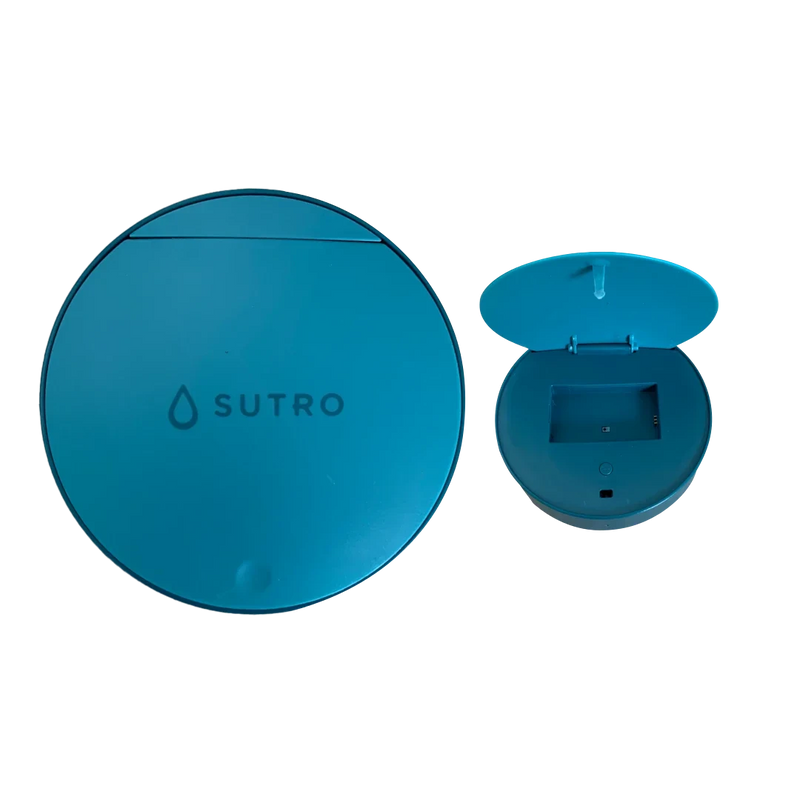
- The small light on the hub should now be blinking white (this means you're ready to connect to WiFi).
If you're setting up your Sutro for the first time, continue to follow the instructions in the app again.
If you're changing your WiFi, go to Settings in the app menu and continue to follow the steps.
Reset the hub:
- Unplug the hub, wait two seconds, and plug it back in.
- Hold down the reset button for three seconds. The reset button is located at the bottom of the hub near the power cord.
- The small light on the hub should now be blinking white (this means you're ready to connect to WiFi).
If you're setting up your Sutro for the first time, continue to follow the instructions in the app again.
If you're changing your WiFi, go to Settings in the app menu and continue to follow the steps.
In your phones WiFi settings:
- iPhone: Tap the i icon to the right of the Sutro network. Tap Renew Lease OR Forget Network (whichever is available).
- Android: Tap the Sutro network. Tap Forget in the pop-up window.
After completing one of the above, reset the hub and try again.
Make sure your home WiFi has internet connectivity.
Make sure phone is not set to auto-switch to cellular data.
- iPhone: Open settings, and tap on Cellular. Scroll down (below list of apps), and disable WiFi Assist.
- Android: Open WiFi settings and tap the 3-dot icon at the top-right corner. Click Advanced and disable Switch to mobile data OR click WiFi+ and turn it off (depending on phone).
Forget home network - Open WiFi settings:
- iPhone: Tap the i icon to the right of your home WiFi. Tap Renew Lease OR Forget Network (whichever is available).
- Android: Tap your home WiFi network. Tap Forget in the pop-up window.
Android Users:
When connecting to the Sutro network, you may see a notification that says tap for options. The pop-up will say the Sutro network has limited or no connectivity. Click stay connected.
If the above doesn't work, it may be your home networks firewall or router settings causing issues.
Contact our Customer Care team at customerservice@hottubstore.ca.
The Sutro hub can't connect to 5 GHz WiFi (often name ending in _5G). Make sure the WiFi you're trying to connect to is 2.4 GHz (often ending in _2G).
Mesh router - Although the hub is able to connect to most mesh routers, if you have one and are having issues, contact Sutro Support.
Make sure phone is not set to auto-switch to cellular data.
- iPhone: Open settings, and tap on Cellular. Scroll down (below list of apps), and disable WiFi Assist.
- Android: Open WiFi settings and tap the 3-dot icon at the top-right corner. Click Advanced and disable Switch to mobile data OR click WiFi+ and turn it off (depending on phone).
Forget home network - Open WiFi settings:
- iPhone: Tap the i icon to the right of your home WiFi. Tap Renew Lease OR Forget Network (whichever is available).
- Android: Tap your home WiFi network. Tap Forget in the pop-up window.
Android Users:
When connecting to the Sutro network, you may see a notification that says tap for options. The pop-up will say the Sutro network has limited or no connectivity. Click stay connected.
3. Connecting the Hub and Monitor
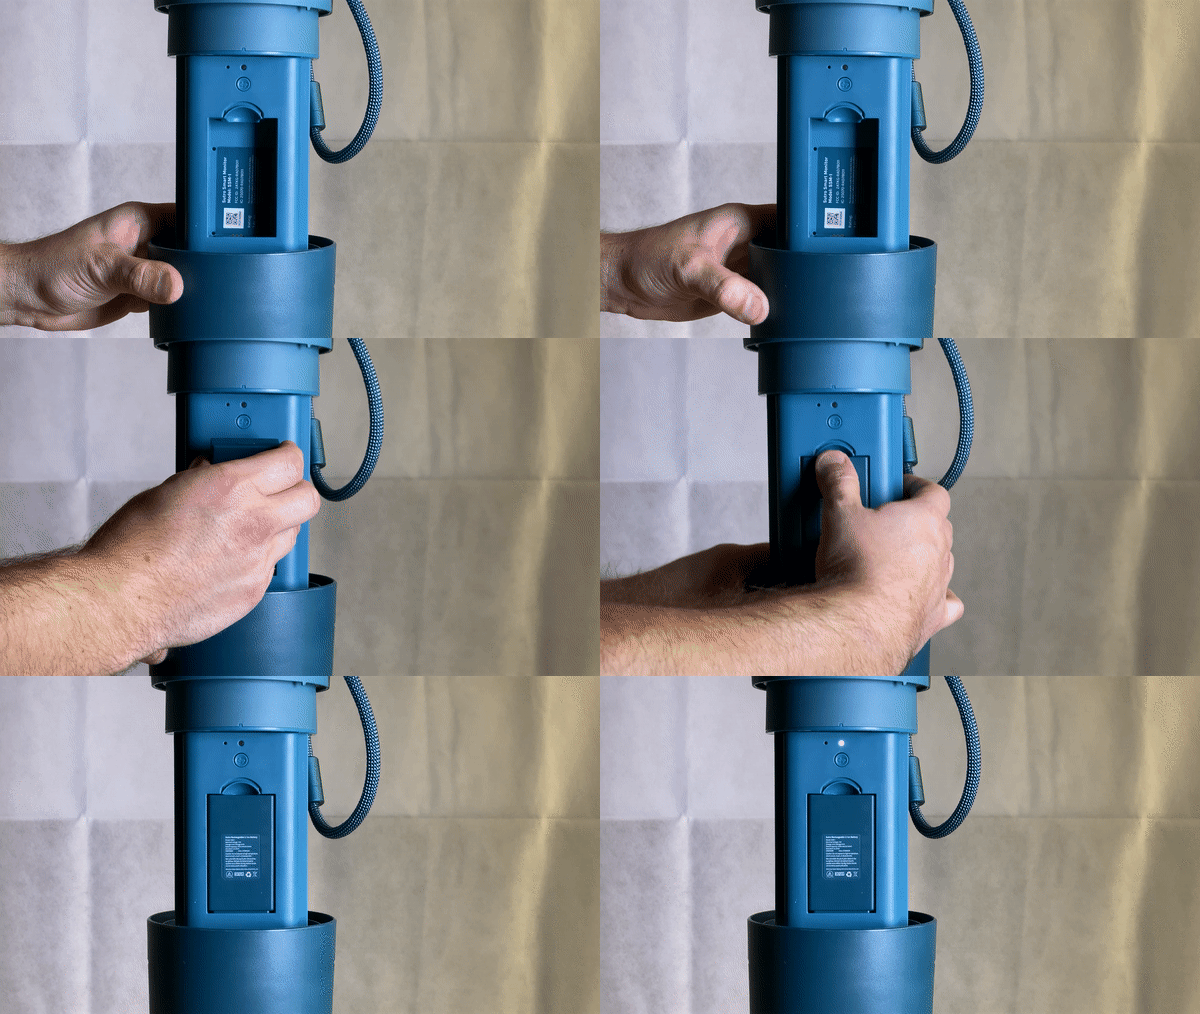
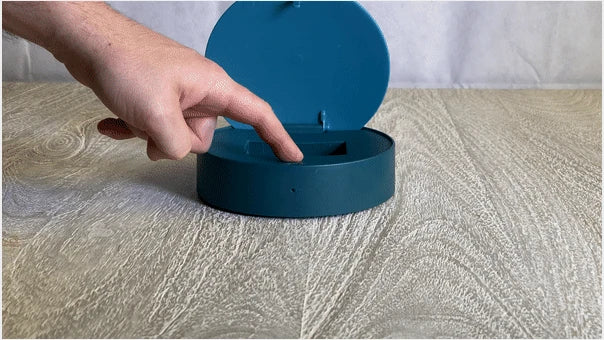
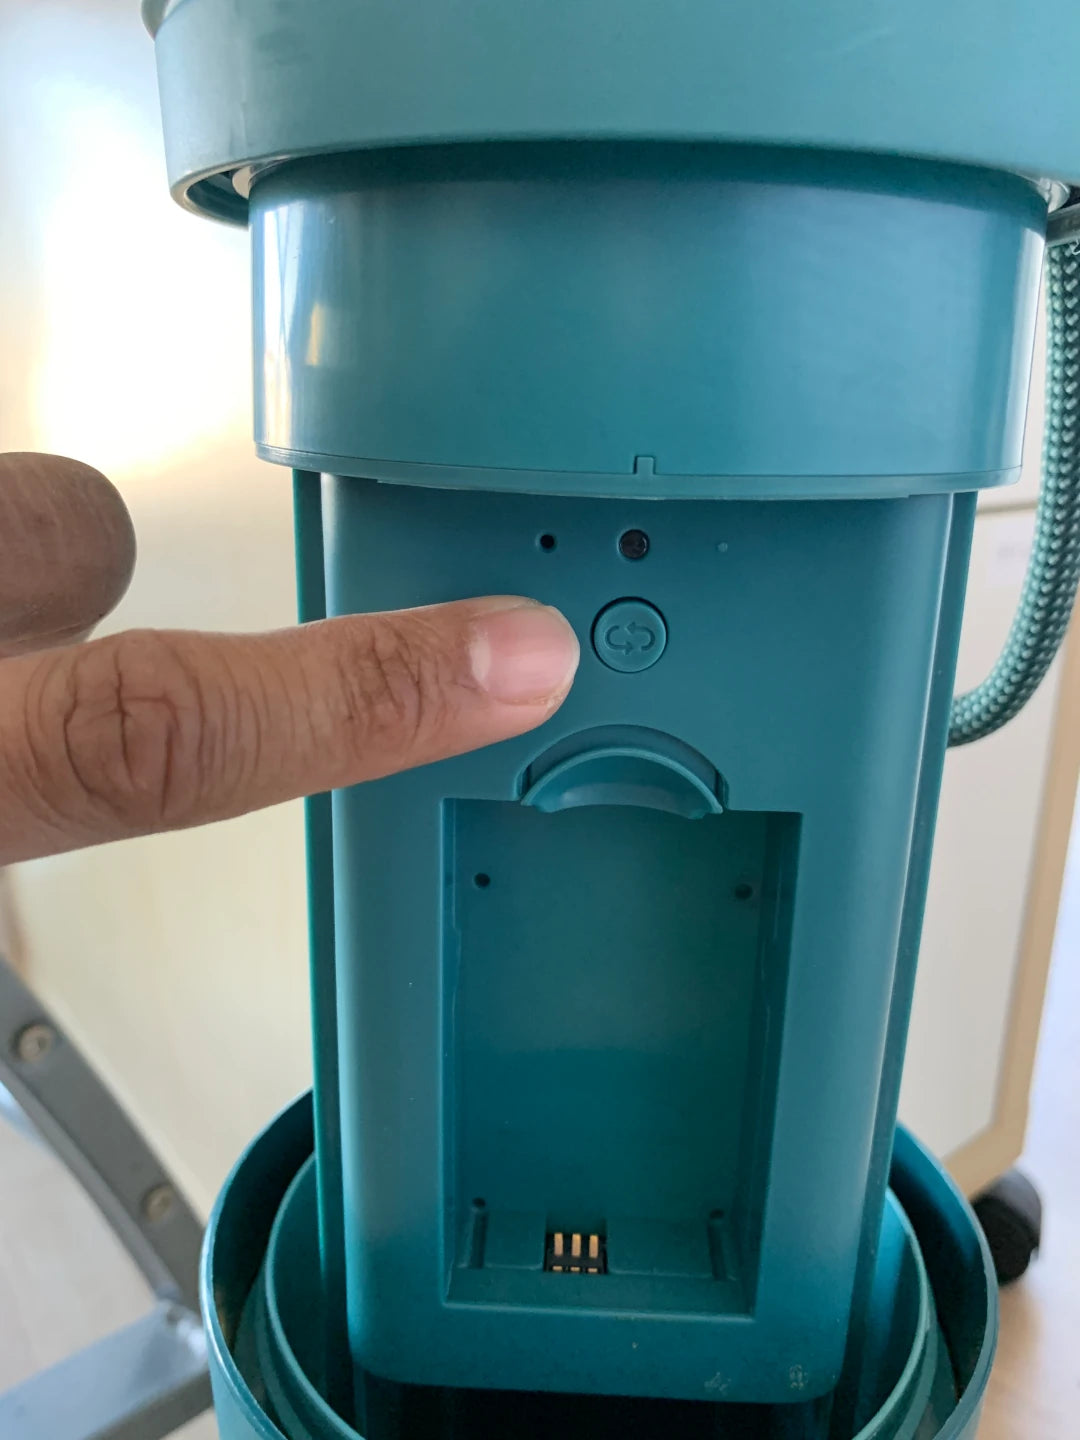
If one or more LED lights are not blue, make sure there is not a battery charging in the hub and try re-pairing both devices by holding down the pairing buttons again.
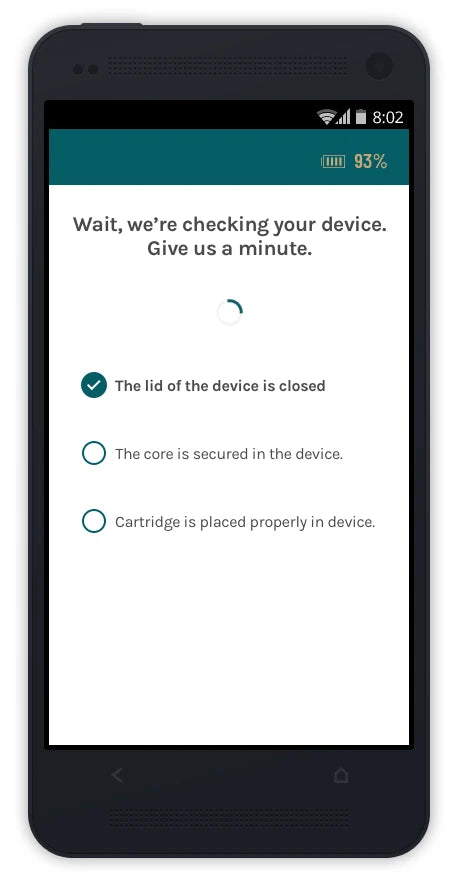
4. Installing Your Test Cartidge
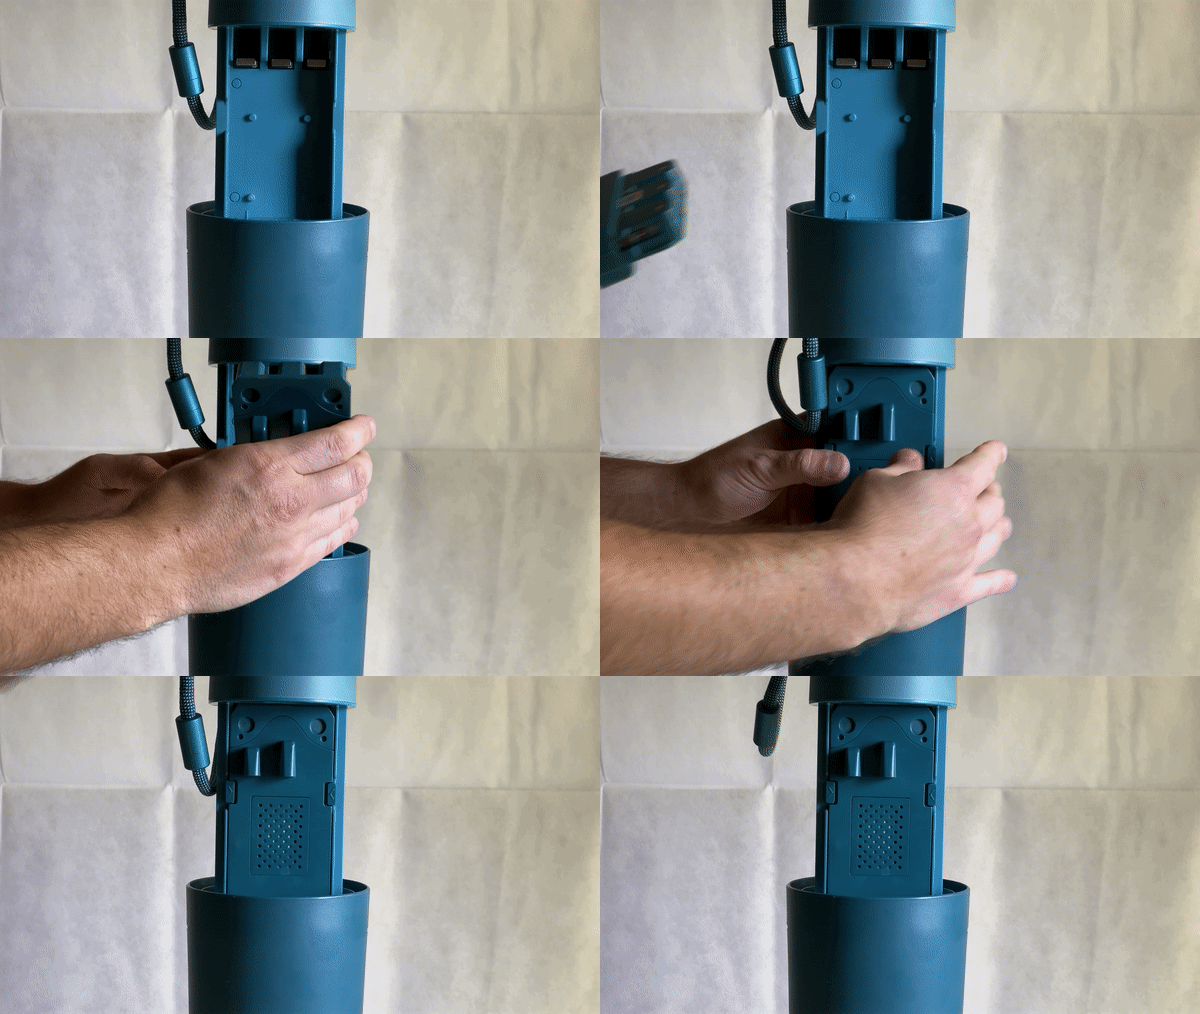
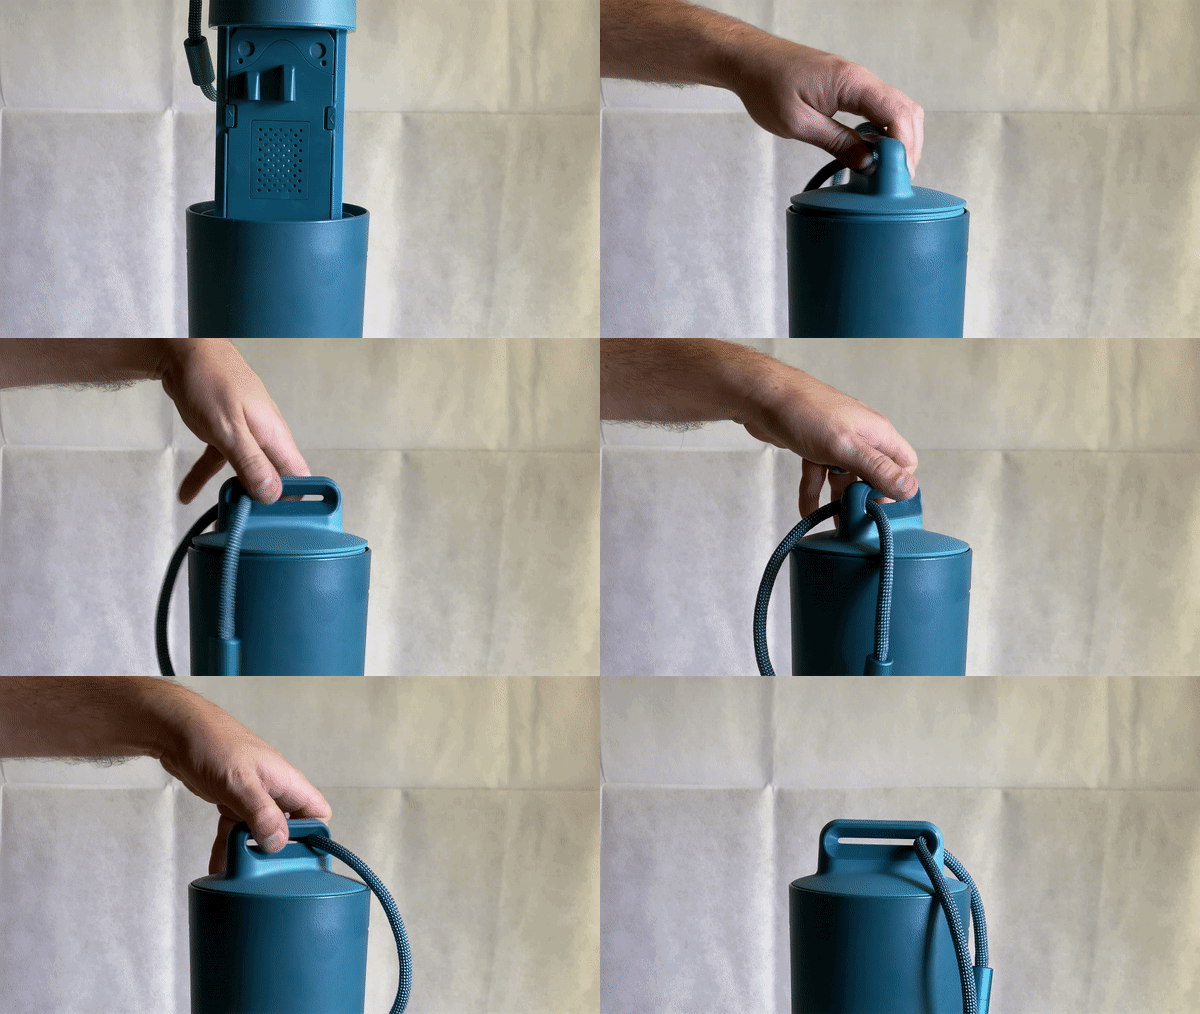
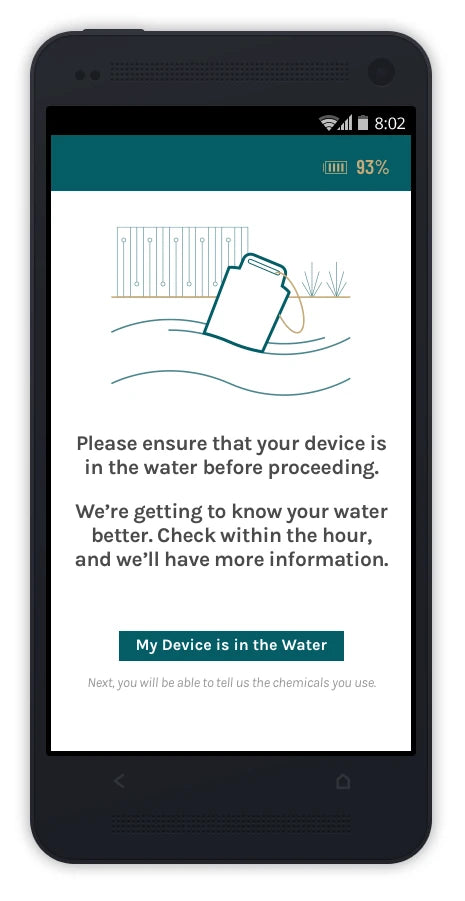
5. Putting the Monitor in your Spa
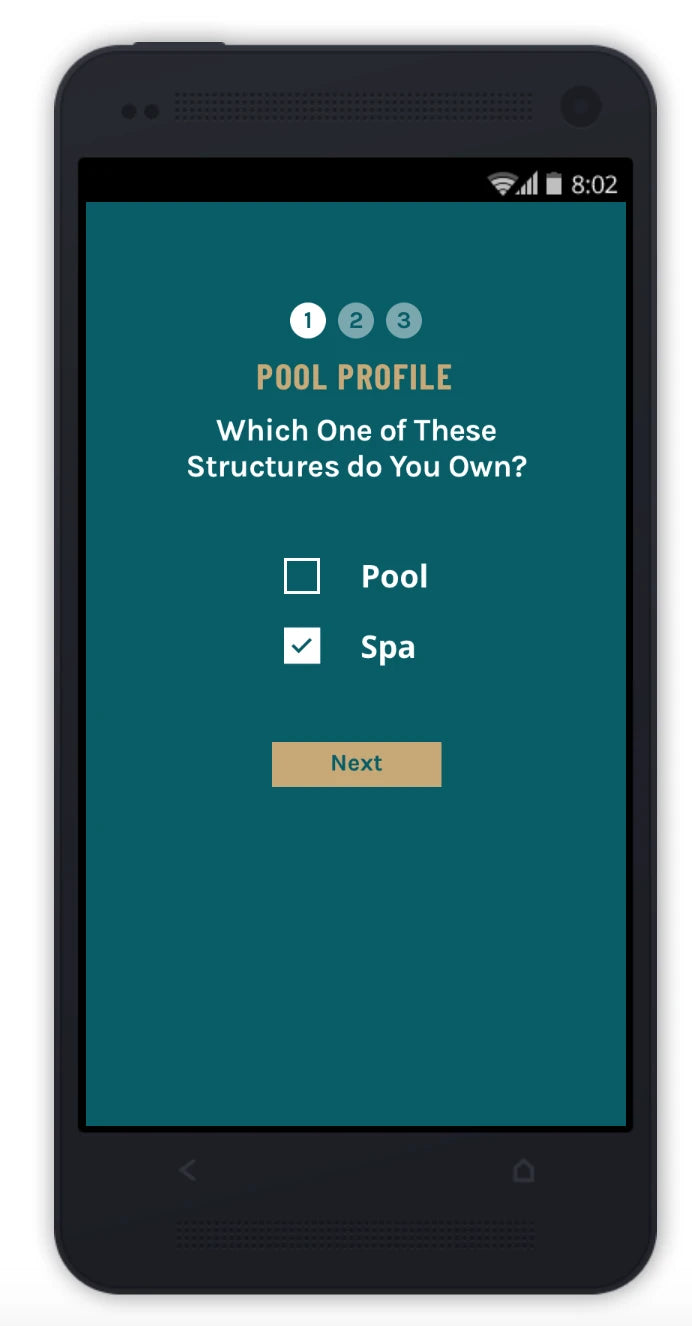
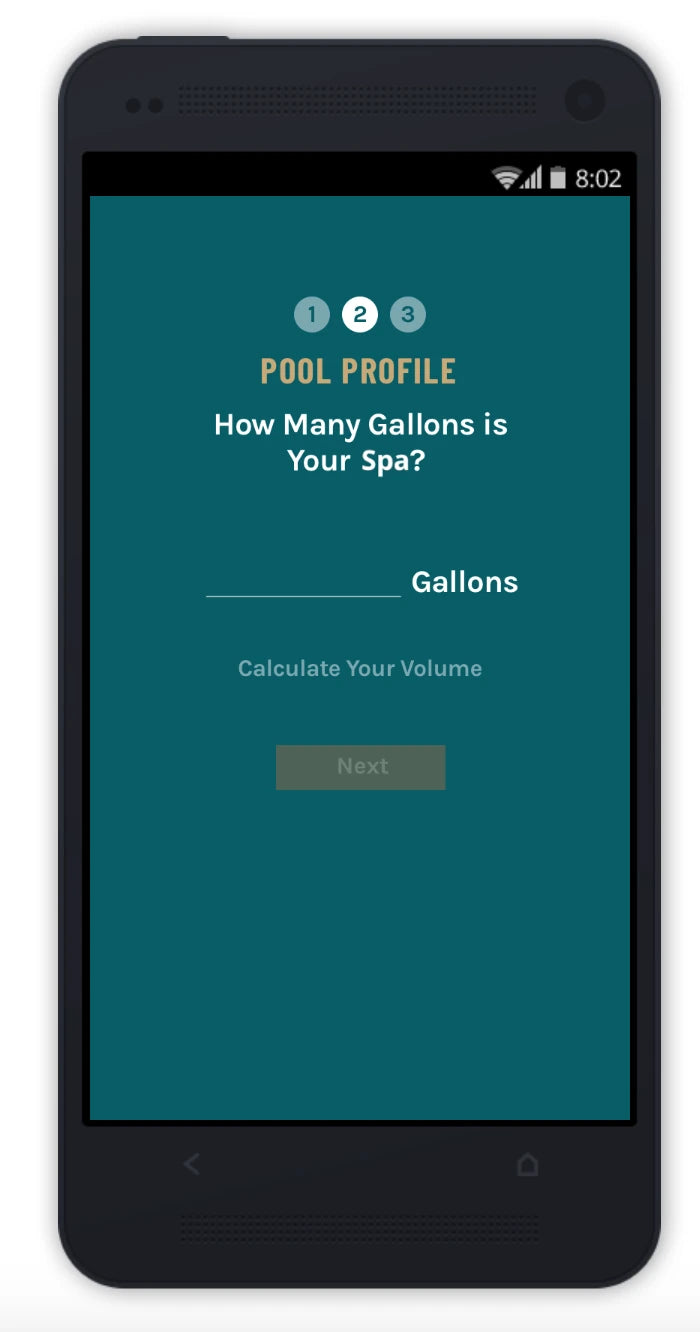
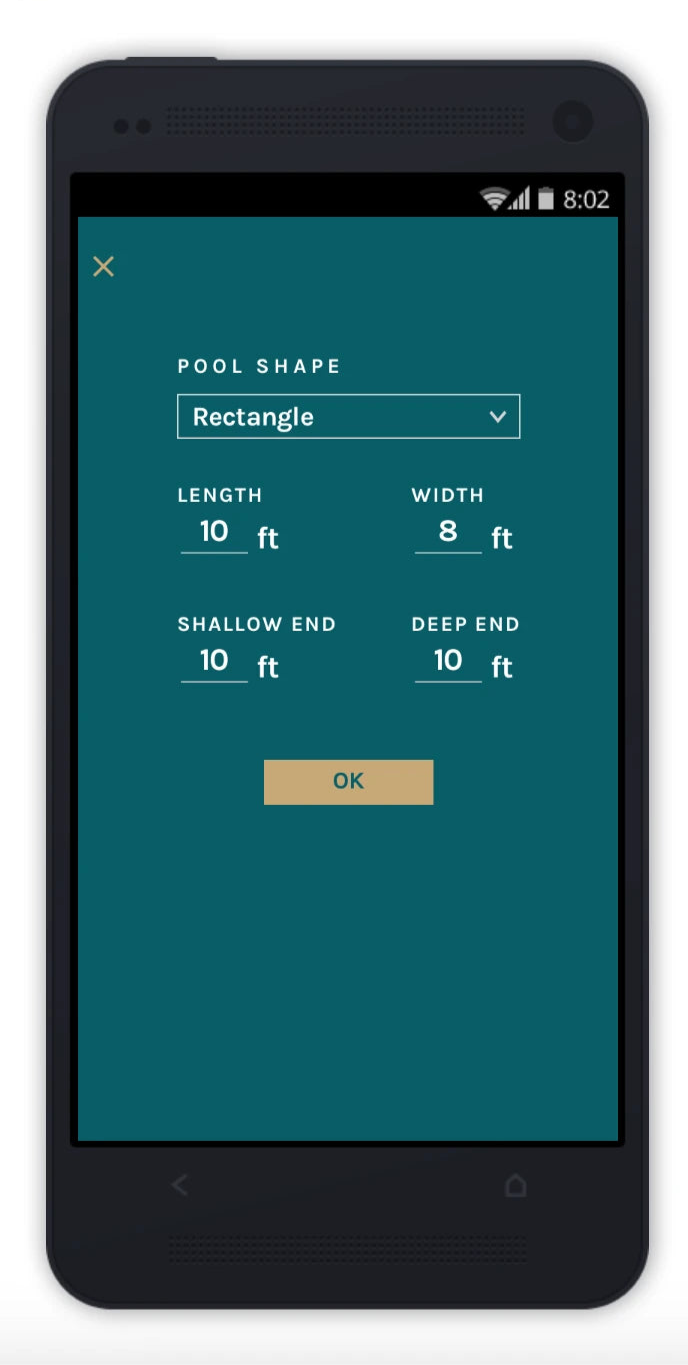
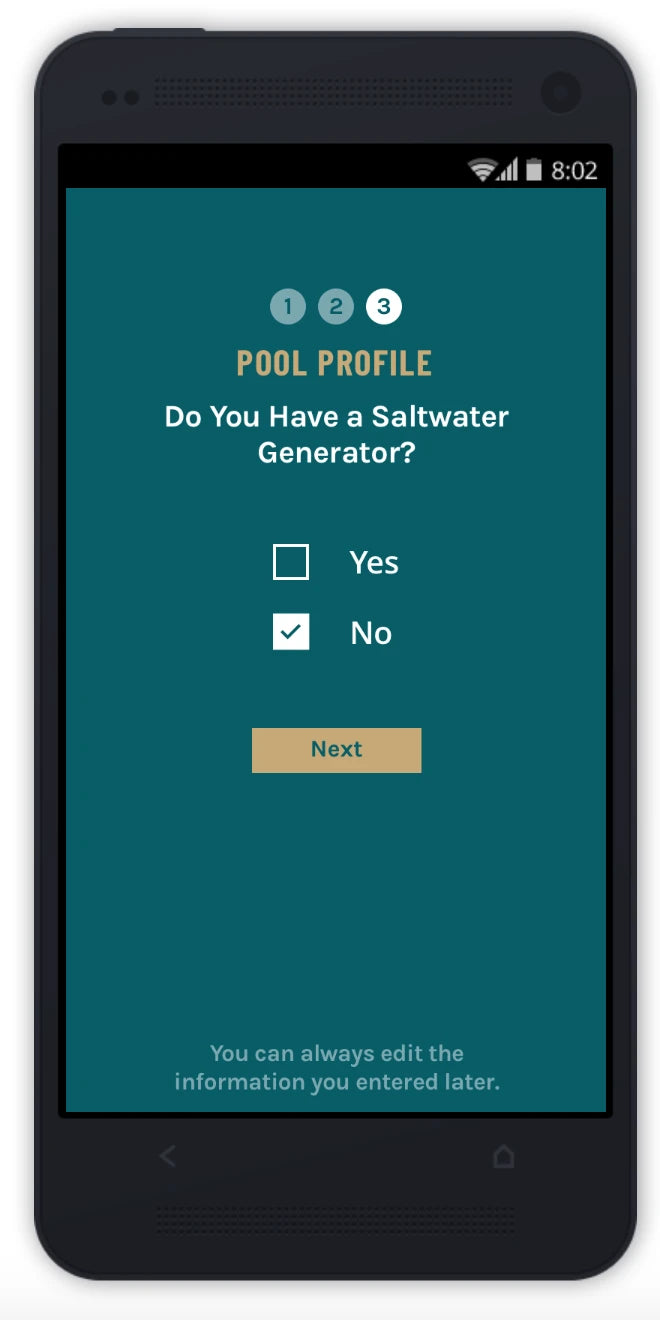
6. Setting up your spa profile
The Sutro System is a pretty complex piece of machinery. It's basically a small laboratory in your spa.
The short answer is, it takes about 30 minutes before the chemistry readings are sent to your phone.
Once onboarding is complete, the Sutro will immediately take a reading, which could take up to one hour.
After that, the Sutro takes three readings per day scheduled at 11am, 7pm, and 3am EST.
If you're on the premium subscription plan, this can be customized by following this guide
